
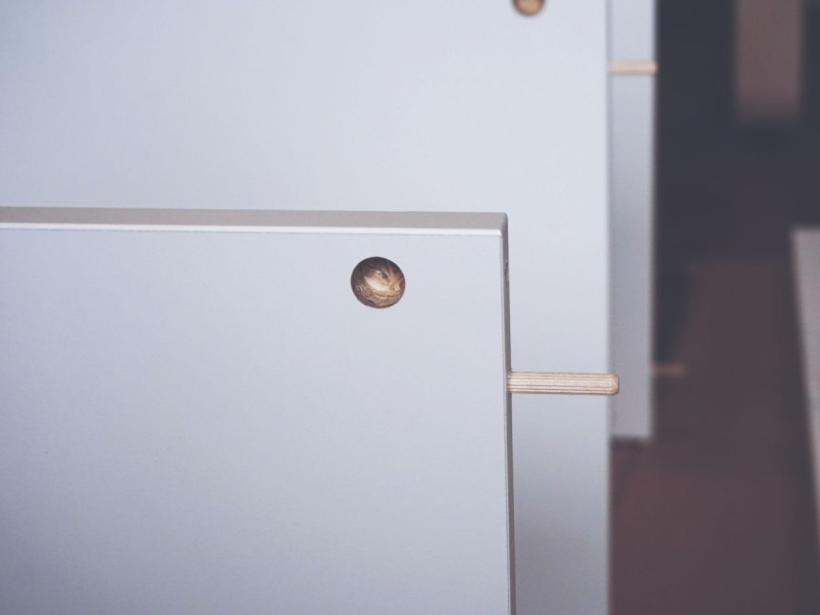
What makes a glued dowel joint strong enough for a shelf?
A glued dowel joint works because the adhesive soaks into the timber fibres of both the plywood edge and the dowel, creating a bond that is often stronger than the wood itself. When you apply a quality PVA wood glue, it penetrates the open pores of the plywood veneer layers and the grooved surface of a proper timber dowel. As the glue cures, it hardens into a rigid film that locks the fibres together across the entire contact area.
The dowels provide mechanical resistance against shear force, which is the downward pressure that a loaded shelf puts on a joint. Instead of relying on a thin glue line at a butt joint, the dowel acts as a solid timber pin that bridges the two pieces. The load transfers from the shelf board, through the glue bond, into the dowel, and then into the upright or back panel. A pair of 8 mm dowels in a 19 mm plywood shelf can comfortably hold books or kitchenware when the joint is properly fitted and clamped.
What tools and materials do I need?

Having the right tools and materials ready makes the job smoother and the joints tighter. For a sturdy shelf, use plywood at least 18 mm thick. Marine or birch ply holds dowels better than standard construction sheet. Pick up a length of fluted beech dowel, 8 mm or 10 mm diameter, and a bottle of exterior PVA wood glue that dries clear.
You can find everything at your local hardware store or a specialist timber yard. A simple self-centring dowelling jig turns a fiddly job into a quick one, so borrow or buy one rather than trying to drill freehand.
- 18 mm birch or marine plywood sheet, cut to your shelf dimensions
- 8 mm or 10 mm fluted beech dowels and matching dowel centre points
- Exterior PVA wood glue, such as Titebond III or Selleys Aquadhere Durabond
- Cordless drill with sharp brad-point bits in your dowel size
- Self-centring dowelling jig
- Fine-tooth handsaw or circular saw with a plywood blade
- Two quick-grip bar clamps at least 600 mm long
- 120, 180 and 240 grit sandpaper, plus a cork sanding block
How do I cut the plywood pieces accurately?
For a standard floating shelf 1200 mm long, 220 mm deep and 45 mm thick, you need a top and bottom skin, a solid front edge and several internal braces. Rip a sheet of 18 mm plywood to get two skins at 1200 by 220 mm. Cut the front edge strip 45 mm wide and 1200 mm long from the same sheet. For the internal frame, rip three or four strips 45 mm wide and then crosscut them into shorter braces about 160 mm long; these will sit between the skins and give the shelf its box-like strength.
Run a circular saw with a fine-tooth blade against a straight edge to get the cleanest, squarest cuts. Clamp a straight factory edge of another board or a dedicated saw guide to the plywood so the saw base rides firmly against it. Set the blade depth just 2 or 3 mm deeper than the material to reduce splintering on the underside. Support the whole sheet on a sacrificial sheet of rigid foam insulation or across two sawhorses so the offcut does not pinch the blade or fall away mid-cut.
Check every piece with a small framing square before you move on. Even a millimetre out of square over the length of the shelf will show as a twisted corner or a gap in the front edge later. If a cut is slightly off, a sharp block plane will trim it true with more control than trying to recut a narrow strip.
How do I drill matching dowel holes without a fancy machine?

You can get perfectly aligned dowel holes with a basic dowelling jig, which costs about $25 to $40 at any hardware store. The jig clamps onto your workpiece and has hardened steel bushings that guide the drill bit straight and at a right angle. Mark the hole positions on one piece first with a sharp pencil and a square, then transfer those marks to the mating piece by butting them together and drawing a line across the joint. Always mark the face side of each board with a cabinetmaker's triangle so you never mix up which edge gets drilled.
If you do not want to buy a jig, use a set of dowel centres. Drill the holes in the first piece freehand but carefully, tap the metal centres into those holes, press the second piece against them, and the little points will leave exact centre marks. This method works well for a couple of shelves. Whichever method you choose, wrap a strip of masking tape around your drill bit at the required depth to stop you going too deep.
Clamp a scrap board to the back of the workpiece before drilling through. The scrap prevents the plywood veneer from blowing out and leaving a ragged hole on the exit side. Drill at a moderate speed and pull the bit out once or twice to clear the chips, especially with birch plywood which clogs easily.
What is the right way to glue and clamp the shelf together?
Always do a full dry-fit before you open the glue. Assemble the shelf without any adhesive to check that every dowel slides into its matching hole and all joints close tight. This test run lets you plan your clamp placement, and it also reveals any high spots you need to sand down before the glue sets. Number each joint with a pencil so you can repeat the exact arrangement once the adhesive is in play.
Apply a thin, even coat of PVA wood glue inside each dowel hole using a small brush or a glue syringe, then lightly coat the dowels themselves. Push the pieces together by hand and tap them home with a rubber mallet if needed, working from one end of the shelf to the other so you do not trap air. Position your clamps across the joints and tighten them with steady, even pressure. A fine bead of glue squeezing out along the seam tells you the bond is complete. Stop tightening before the clamps dent the plywood veneer.
Wipe away the wet squeeze-out immediately with a damp cloth. Dried glue will seal the surface and stop stain or clear finish from penetrating evenly later. Leave the clamps on for at least 30 minutes under normal indoor conditions, and do not stress the joints for a full 24 hours while the adhesive reaches its working strength. If your workshop is cold, give the shelf a few extra hours. PVA glue cures noticeably slower below about 15 degrees Celsius.
How do I finish the shelf so it looks good and lasts?

Start sanding with 120-grit paper to remove any dried glue and smooth the flat surfaces. Always sand in the direction of the grain, not across it. Move to 180-grit for a finer finish, and finish with 240-grit for a surface that feels silky to the touch. Wipe the timber with a damp cloth and let it dry to raise the grain, then lightly sand again with 240-grit before applying any coating.
If any tiny gaps remain around the dowel joints, mix a small amount of fine sawdust from your sanding with PVA wood glue to form a paste the consistency of thick cream. Press this filler into the gaps with your fingertip or a plastic scraper, let it dry for an hour, and sand it flush. The patch will take stain and clear coats almost invisibly because it comes from the same plywood sheet.
For Australian conditions, where humidity can swing from dry inland air to coastal damp, a hard wax oil such as Osmo Polyx-Oil gives a durable, water-repellent finish that is easy to repair. Apply two thin coats with a lint-free cloth, wiping off the excess after each one. A water-based polyurethane is a good alternative if you prefer a clear film that builds a protective layer. It dries fast, does not yellow, and cleans up with water. Avoid oil-based finishes in enclosed spaces without good ventilation.
How do I mount a floating plywood shelf on the wall?
A hidden French cleat is the simplest way to hang your shelf and keep the mounting completely invisible. Cut a strip of plywood about 70 mm wide and the length of your shelf, then rip it in half lengthwise at a 45-degree angle with your saw. One half fixes flat against the wall with the bevel facing up and out, while you glue and screw the other half into a recess in the back top edge of the shelf with the bevel facing down and in. The shelf locks onto the wall cleat and sits flush.
Start by marking the shelf position on the wall with a spirit level, then run a stud finder across the area to locate the timber studs behind the plasterboard. You need at least two screws driven into solid studs for a shelf that will hold books or kitchen gear. If the stud spacing does not line up with your cleat, screw a 12 mm plywood mounting board to the studs first, then attach the wall cleat to that board.
For a lighter shelf you can use concealed metal floating shelf brackets instead. These are steel rods welded to a flat plate that you screw to the studs, and you drill matching holes into the back edge of the shelf to slide it onto the rods. Whichever method you pick, check the shelf sits level and does not tip forward before you load it up.
Frequently asked questions
Can I use any type of plywood for a dowel-joined shelf?
Marine ply or birch ply with many thin layers works best because it holds dowels and glue well without splitting. Construction-grade ply with large internal voids is harder to get a clean edge on, but you can still use it if you fill the voids before assembly.
Will a glued shelf really hold as much weight as one with screws?
Yes, a properly glued long-grain joint is often stronger than the wood itself. The dowels stop the shelf from twisting, and the glue line distributes the load across the whole joint. For a floating shelf 200 mm deep, you can safely load it with books or dishes as long as the wall mounting is solid.
How do I fix a loose dowel if I drilled the hole too big?
If the dowel is only slightly loose, you can glue a thin veneer shaving into the hole to tighten it. If the hole is visibly oversized, drill it out cleanly, glue in a plug of the same timber, let it dry, and re-drill the correct size.
Do I need special clamps for a box-shaped shelf?
Long bar clamps or pipe clamps work best to pull the top and bottom onto the internal braces. If you only have quick-grip clamps, use a pair on each end and check with a square before the glue sets. A flat assembly surface is just as important as the clamps themselves.
Photo: John (Giannis) Tekeridis, Pexels (Pexels License)