
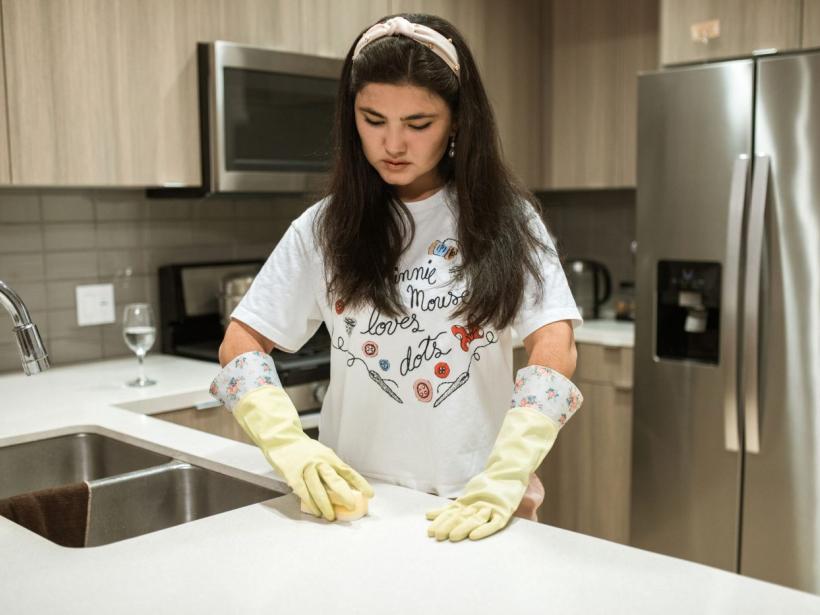
Is mould on a concrete benchtop dangerous?
Surface mould on a concrete benchtop is common in damp kitchens and rarely indicates a structural problem with the slab itself. The porous nature of concrete holds moisture, which creates the dark patches you see. Left untreated, it causes stubborn stains and a persistent musty smell.
Mould can trigger sneezing, itchy eyes or throat irritation for some people, so wearing gloves and a basic mask is sensible during cleaning. The main risk is cosmetic. Spores work into the tiny pores of the sealer or raw concrete, and the longer they sit, the deeper the grey or black marks penetrate. Prompt cleaning keeps the benchtop looking clean and stops a minor spot from spreading across the surface.
What cleaning supplies do I need?

Gather everything before you start. You probably own most of these items already.
- White vinegar (plain, not malt or cleaning vinegar with additives).
- Baking soda (the pantry staple, not baking powder).
- A stiff nylon brush (stiff enough to scrub but not wire, which scratches concrete).
- Microfibre cloths (at least two, one for wiping and one for drying).
- A clean spray bottle (dedicated to cleaning, not a repurposed garden chemical bottle).
- Rubber gloves and safety glasses (vinegar fumes and mould spores irritate eyes and skin).
A bucket of warm water is handy for rinsing the cloths between passes. If the mould covers a large area, keep a fresh pair of gloves nearby in case yours tear.
How do I clean the mould off step by step?
If the benchtop is removable, take it outside. Otherwise, open every window and put on a P2 mask and gloves before you begin. Dry-brush the surface with a stiff nylon brush to lift off loose spores and dust. Work in one direction so you don't scatter the mould back into the air.
Pour undiluted white vinegar into a spray bottle and mist the affected area until it looks damp. Let the vinegar sit for a full 30 minutes. While you wait, mix a paste from three parts baking soda to one part water in a small bowl. After the half hour, spread the paste over the vinegar-soaked patch with a sponge and scrub in small circles with the nylon brush for a minute or two.
- Rinse the surface with clean water and a fresh cloth, then wipe it completely dry with a microfibre towel.
- If a faint stain remains, repeat the vinegar spray and paste scrub one more time before drying again.
- Run a fan or open windows to keep air moving until the benchtop feels bone-dry to the touch.
- Once the concrete is fully dry, apply a food-safe penetrating sealer to close the pores that mould spores look for.
Why use vinegar and baking soda instead of bleach?

Bleach can permanently lighten or stain a concrete benchtop, especially if the surface has been sealed with a colour-enhancing product. Its strong fumes also linger in a kitchen and can irritate the eyes and throat. Because concrete is porous, bleach can soak in and continue reacting long after you wipe it off, which sometimes weakens the sealer underneath.
White vinegar kills about 80 per cent of common surface mould species on contact and breaks down the organic matter mould feeds on. Once you rinse the area with water and dry it, no harmful residue remains and the benchtop is food-safe again. Baking soda acts as a gentle abrasive that lifts stubborn spots without scratching the polished surface, and it also absorbs moisture that mould needs to regrow.
Together, they give you a low-odour, non-toxic clean that won't compromise the look or integrity of a finished concrete benchtop. Keep bleach-based cleaners for unsealed outdoor concrete paths and driveways where appearance matters less.
How do I stop mould coming back?

Mould returns when moisture soaks into unsealed concrete. Once the benchtop is clean and bone-dry, apply a penetrating concrete sealer. These sealers soak into the pores and create a barrier that stops water, oils and food acids getting in, without changing the look of the surface. Look for a silane-siloxane water repellent or a lithium silicate densifier at your local hardware store.
Improve the air movement around the bench. In a poorly ventilated kitchen, a small USB-powered fan or simply opening a window while cooking keeps humidity levels low. Wipe up spills and condensation the moment they happen, especially around the sink and behind the tap. A dry cloth used straight away prevents regrowth better than any cleaning product.
When should I call a professional?
Surface mould that wipes away with household cleaners rarely needs expert help. The situation changes when the staining reappears within days of cleaning, especially in the same spots. This often means the mould has penetrated deep into the porous concrete, where a kitchen scourer cannot reach.
You should also get a professional assessment if you notice a persistent musty smell that does not go away after cleaning, or if the benchtop feels damp to the touch in dry weather. These signs point to a moisture source behind or under the slab, such as a slow cabinet leak or rising damp from an unsealed substrate. A mould remediation specialist can test the extent of the growth and check the wall cavity and cabinetry with a moisture meter before the problem spreads.
Frequently asked questions
Can I use bleach on a concrete benchtop?
You can, but it is not the best choice. Bleach can lighten the colour of your concrete and the fumes are strong in an enclosed kitchen. White vinegar is gentler and still effective on surface mould.
Will vinegar damage the concrete?
No, when used for short contact times. Vinegar is acidic, so do not let it sit for hours. The 30-minute dwell time in this method is safe for cured concrete. Always rinse well afterwards.
How long does the benchtop need to dry before sealing?
At least 24 hours in a well-ventilated room. The concrete must be bone-dry for the sealer to bond properly. A fan pointed at the surface can speed this up.
What type of sealer should I use?
A penetrating silane or siloxane sealer works well for kitchen benchtops. It soaks into the concrete and blocks moisture without leaving a shiny film that can scratch. Check the label to confirm it is food-safe once cured.
Photo: RDNE Stock project, Pexels (Pexels License)