
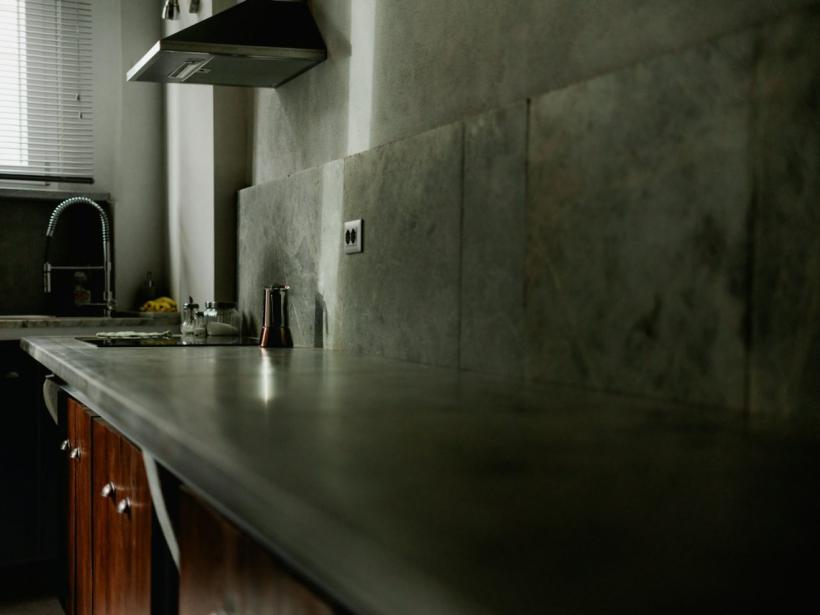
How do I seal a concrete benchtop?
Sealing a concrete benchtop starts with choosing a high quality penetrating sealer, which soaks into the concrete pores to block moisture and stains from the inside. A topical film-forming sealer sits on the surface and can peel or look plastic-like over time, so a penetrating water-based or solvent-based sealer is the better choice for a kitchen. Always check the label to confirm the product is food-safe once cured, because the benchtop touches food every day.
You can seal a new benchtop yourself in a few straightforward steps. Work in a well-ventilated room and wear gloves. The surface must be completely clean and dry before you begin.
- Wipe the benchtop with a lint free cloth and a pH neutral cleaner to remove any dust, grease or builder's residue.
- Let the concrete dry fully for at least 24 hours after cleaning or after a new pour has cured.
- Pour a small amount of sealer directly onto the benchtop and spread it evenly with a microfibre applicator pad or a lamb's wool pad.
- Apply the sealer in thin, overlapping passes so no puddles form and the whole surface looks uniformly damp.
- Allow the first coat to absorb for the time the manufacturer specifies, usually 30 to 60 minutes, then wipe off any excess with a clean dry cloth.
- Apply a second and sometimes a third coat, letting each coat dry fully between applications, until the concrete stops absorbing the sealer.
Wait the full curing time on the label, which can be 24 to 72 hours, before using the benchtop. A simple water bead test tells you the seal is working: sprinkle a few drops of water on the surface, and if they sit as round beads without darkening the concrete, the seal is intact.
What is the best daily cleaning routine?

The safest daily routine for a concrete benchtop uses nothing more than a microfibre cloth, warm water and a mild, pH-neutral cleaner. Wipe down the surface after every meal preparation to remove crumbs and light spills before they have a chance to etch into the sealer. A simple spray made at home with a few drops of mild dish soap in a spray bottle of water works well and avoids the harsh chemicals that can degrade the protective coating over time.
Avoid using a sopping wet cloth. Wring it out until it is just damp, wipe the entire surface in one direction and then immediately buff it dry with a separate clean, dry microfibre cloth. Standing water is one of the quickest ways to wear down a sealer, especially around the sink and tap area, so a quick dry-off after every use makes a noticeable difference to the long-term look of the benchtop.
How do I remove red wine or oil stains?
Act quickly on fresh spills by blotting immediately with a paper towel, never wiping, to stop the liquid from soaking deeper into the porous surface. For stains that have already set in, a poultice made from an absorbent powder and a solvent will draw the stain out without harsh scrubbing that can dull the sealer.
Mix baking soda or talcum powder with just enough hydrogen peroxide (for organic stains like wine) or methylated spirits (for oil-based stains) to form a thick paste with the consistency of peanut butter. Spread the paste over the stain about 5 mm thick, extending a couple of centimetres past the edges, and cover it with plastic wrap. Tape the edges down and poke a few small holes in the plastic with a toothpick to slow the drying time. Let the poultice sit for 24 hours, then remove the plastic and allow the paste to dry completely before scraping it off gently with a plastic spatula.
- Blot fresh spills with a clean paper towel without wiping or rubbing.
- Mix baking soda with hydrogen peroxide for red wine and organic stains.
- Mix baking soda with methylated spirits for olive oil and grease stains.
- Apply the paste 5 mm thick and cover with perforated plastic wrap.
- Leave the poultice undisturbed for a full day before removing.
- Scrape off the dried paste with a plastic spatula, never a metal tool.
What should I never use on a concrete benchtop?

Several common kitchen products will damage the sealer or permanently etch the concrete itself. The most harmful are acidic cleaners and abrasive tools, which strip away the protective layer in a single use.
- Vinegar, lemon juice and other acidic cleaners. Acids react with the calcium hydroxide in concrete in a process called acid etching, leaving dull white marks that cannot be wiped away.
- Bleach and ammonia-based sprays. Harsh alkaline chemicals break down the molecular structure of most penetrating and topical sealers, causing them to fail prematurely.
- Abrasive scourers and steel wool. These scratch the sealer and the concrete surface, creating micro-grooves where stains can settle deep below the finish.
- Strong solvent cleaners like acetone or paint stripper. Solvents dissolve acrylic-based sealers on contact and can soften epoxy coatings, leaving a permanently tacky or cloudy patch.
- Wax-based furniture polishes. They build up a slippery film that traps dirt, prevents the sealer from breathing, and makes future resealing difficult without aggressive sanding.
Even a single wipe with a cut lemon or a splash of wine left overnight can etch a ring or a dull spot into an unsealed or poorly sealed surface. If you do spill something acidic, blot it up immediately with a dry paper towel, then rinse the area with water and a mild pH-neutral cleaner.
How do I prevent scratches and heat marks?

Prevent scratches by never cutting or chopping directly on the concrete surface. Always use a solid timber or plastic chopping board. Even a stray grain of salt trapped under a plate can leave a fine scuff when you slide it across the benchtop, so wipe up crumbs and grit promptly with a soft cloth.
Heat marks are avoided with a simple rule: treat the concrete like a timber benchtop. Place a trivet or a thick cork mat under any hot pot, pan or baking tray straight from the oven or stovetop. A sudden thermal shock can crack the sealer or discolour the concrete underneath, and that damage is not reversible with a simple buff.
For light scuffs and superficial scratches that have not cut through the sealer, you can often buff them out by hand. Use a soft microfibre cloth and a small amount of the same sealer the benchtop was originally finished with. Work the sealer into the affected area in a circular motion, then wipe away any excess and let it cure according to the product instructions.
How often should I reseal the benchtop?
Most concrete benchtops in a busy family kitchen need resealing every 12 to 18 months. The water-bead test tells you exactly when it is time. Splash a few drops of water onto the surface in an area you use often, such as near the sink. If the water beads into droplets and sits on top, the seal is still working. If the water flattens out and darkens the concrete within a few minutes, the seal has worn thin and you should reseal soon.
A benchtop that sees heavy daily use, with frequent cooking and spills of acidic liquids like lemon juice or vinegar, may need resealing closer to the 9-month mark. A lightly used benchtop in a secondary bathroom or laundry can often go two years between coats. Always strip any old wax or residue and clean the surface thoroughly before applying a fresh layer of sealer, following the product instructions for drying times between coats.
Frequently asked questions
Can I cut directly on a concrete benchtop?
No. Concrete is hard, but it can still scratch, and you will dull your knives quickly. Always use a wooden or plastic chopping board to protect both the surface and your blades.
Will a concrete benchtop stain easily?
A properly sealed benchtop resists stains well, but it is not stain-proof. Wiping up spills straight away, especially red wine, citrus juice and oil, keeps the surface safe.
What is the safest cleaner for everyday use?
Warm water with a few drops of mild, pH-neutral dish soap is the safest choice. Spray it on, wipe with a soft microfibre cloth, and dry the surface to prevent water spots.
Can I place a hot pot straight onto the benchtop?
Never. The thermal shock can crack the concrete or damage the sealer, leaving a cloudy white ring. Always use a trivet or a thick wooden board under hot pots and baking trays.
Photo: Matthew Jungling, Unsplash (Unsplash License)