
What is the easiest way to patch a small hole in plasterboard?
For holes up to about 50 mm wide, a self-adhesive mesh patch gives you the quickest fix with no backing support needed. Stick the patch over the hole, cover it with filler, and sand it smooth once dry.
The mesh patch acts as a bridge across the hole, giving the filler something to grip while it hardens. This method works for dents from door handles, small cracks, and holes left by wall plugs or picture hooks. You can buy a plasterboard repair patch kit at any hardware store for a few dollars.
Here is the step-by-step process:
- Wipe the area around the hole with a damp cloth to remove dust and loose debris, then let it dry completely.
- Peel the backing off the self-adhesive mesh patch and press it firmly over the hole, smoothing out any air bubbles.
- Use a 100 mm broadknife to spread premixed plasterboard filler over the patch in thin layers, feathering the edges about 50 mm beyond the mesh.
- Let the first coat dry, then apply a second thin coat to fill any shrinkage or low spots.
- Sand the dried filler with 120-grit sandpaper until the patch blends flush with the surrounding wall.
- Wipe away sanding dust with a tack cloth before priming and painting.
Keep each coat of filler thin. Building up the patch in two or three thin passes gives you a smoother finish than trowelling on one thick layer that takes longer to dry and tends to crack.
How do I fix a large hole in plasterboard?
Holes larger than about 50 mm need a backing board and a cut-out patch, not just filler. The new plasterboard piece needs solid support so it sits flush with the wall and does not crack later.
Start by drawing a neat square or rectangle around the damaged area with a spirit level and pencil. Cut along the lines with a plasterboard saw or a sharp utility knife, removing the broken piece. You want straight edges that are easier to match. Measure the opening and cut a new plasterboard patch the same size, plus an extra 50 mm on each side for the backing strip if you are using a single batten.
- Measure and mark a square around the hole, then cut it out with a plasterboard saw.
- Cut a timber batten or a strip of plywood about 100 mm longer than the opening.
- Slide the batten inside the hole and screw it to the existing plasterboard through the face, top and bottom.
- Fix the new plasterboard patch to the batten with plasterboard screws, keeping the screw heads just below the surface.
- Apply mesh tape over all four joins, then skim with two thin coats of topping compound.
- Sand lightly between coats and wipe away dust before the final finish.
For holes near a corner or in a ceiling, a California patch, where the backing paper flap replaces a separate batten, often gives a cleaner result. The key is to take your time setting the patch flush so the finished wall looks seamless.
What tools and materials do I need?
The tools and materials you need depend on the size of the damage. For a small hole, such as one from a door handle, you can manage with a lightweight filler, a filling knife and sandpaper. For a larger hole that goes right through the board, you will need a few extra supplies to create a solid backing before you apply the compound.
You can buy all these items at any hardware store in Australia. You likely already own a utility knife and a tape measure. A small ready-mixed container will do the job for a tiny repair and costs less than a huge tub.
- All-purpose plasterboard joint compound (ready-mixed or powder). This is the main filler you will use to cover the patch and create a smooth surface.
- Filling knife and broad knife. A narrow 100 mm knife applies the first coat, while a wider 250 mm knife feathers the edges out for an invisible finish.
- Plasterboard saw or utility knife. A small jab saw cuts clean square openings in damaged board; a sharp utility knife scores the surface neatly.
- Plasterboard offcut and timber batten. For large holes only. The offcut becomes the patch, and a piece of pine batten screwed behind the existing board acts as a solid support.
- Self-adhesive fibreglass mesh tape. Essential for covering the joints around a large patch. It prevents cracks from forming along the seams as the compound dries.
- Plasterboard screws and a drill. You will need these to fix the timber batten and the new board offcut firmly in place before you start filling.
How long does plasterboard filler take to dry?
Joint compound typically takes 24 hours to dry in average Australian indoor conditions. Drying time depends on humidity, temperature and how thickly you applied the filler. A thin skim coat may be ready to sand in as little as 8 hours on a dry summer day, while a deep fill in winter can need 36 hours or more.
You can tell the filler is ready when it turns from dark grey or pink to a uniform white and feels dry and hard to the touch, with no cool or damp spots. Do not point a fan or heater directly at the patch. Forcing the surface to dry faster can cause cracking or a weak bond, and the compound underneath may still be soft.
In coastal areas or during wet weather, allow extra time and check the patch in several spots before sanding. If you sand too early, the filler clogs the paper and leaves a rough, uneven finish that needs another coat. Wait a full day between coats for a clean result.
Can I match the paint after patching plasterboard?
Yes, you can match the existing paint, but the method depends on when the wall was last painted. If you have leftover paint from the original job, stir it thoroughly and use that. The colour will be identical because it came from the same tin. If you do not have the original paint, take a sample to a paint store for matching.
To get a good sample, cut a small square of the painted surface about the size of a 50-cent coin using a sharp utility knife. Take the sample to a paint shop that offers colour matching. The staff scan it with a spectrophotometer and mix a new tin to match. Most Australian hardware stores provide this service at no extra cost beyond the price of the paint. Ask for the smallest tin available, usually 250 ml or 500 ml, because you need very little for a patch.
Even a perfect colour match can leave a visible patch because the sheen level or texture differs from the surrounding wall. Old paint fades slightly over time, so a fresh coat of the same colour may look brighter. If the patch is in a well-lit area or on a wall that catches direct sun, the difference can be obvious. In that case, paint the entire wall from corner to corner to make the repair invisible. This blends the new paint seamlessly because there is no edge where old and new paint meet.
What mistakes should I avoid when patching plasterboard?
The most common mistake is rushing the drying time between coats. If you apply a second layer of filler over a base that is still damp, it traps moisture, which leads to cracking and a soft, unstable patch later on.
Over-sanding also causes trouble. Pressing too hard or using coarse grit tears the paper face of the surrounding plasterboard and leaves a fuzzy, uneven surface that paint will not hide. A light touch with fine 180 or 220 grit is enough to feather the edges.
- Skipping the primer before painting. Bare filler absorbs paint differently to the existing wall, which creates a visible dull spot called flashing.
- Using a general-purpose filler for a hole deeper than 5 mm. Deep repairs need a base coat that resists sagging, such as a setting-type compound.
- Filling a hole without removing loose or crumbling plasterboard edges first. The new filler will crack as the damaged material shifts behind it.
- Applying one thick layer instead of two or three thin ones. A thick layer shrinks unevenly and takes far longer to dry.
- Neglecting to wipe away dust after sanding. Dust prevents primer and paint from bonding properly to the wall.
Frequently asked questions
Can I patch a hole in plasterboard without a patch kit?
Yes, you can use a scrap piece of plasterboard and some timber offcuts as a backing board instead of a kit. The method is the same as the large-hole repair: cut a square hole, fix a backing support, screw on a new plasterboard piece and fill the joints.
Do I need to prime the patch before painting?
Yes. Bare joint compound and paper tape absorb paint differently from the surrounding wall. A coat of water-based primer-sealer stops the patch flashing through the topcoat and gives you an even finish.
How long should I wait before painting over a plasterboard patch?
Wait until the final coat of filler is fully dry, which is usually 24 hours in mild weather but can take longer in humid conditions. Sand it smooth, wipe off the dust, apply primer and let that dry for at least a couple of hours before you paint.
What if the hole is near an electrical outlet or switch?
Turn off the power at the switchboard before you start and use a non-contact voltage tester to confirm the circuit is dead. Keep filler and tools well away from any exposed wiring. If the damage extends behind the wall plate, it is safest to call a licensed electrician.
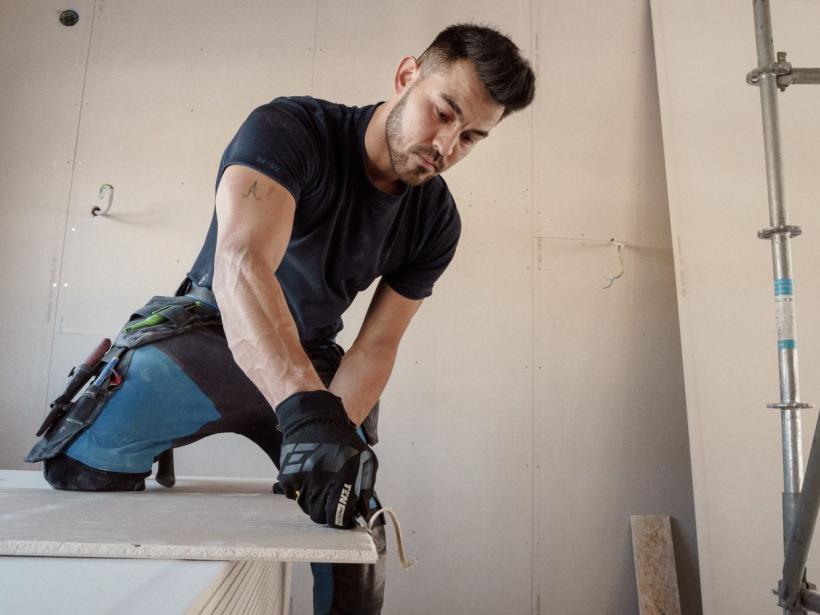
Photo: Jimmy Nilsson Masth, Pexels (Pexels License)