
What kind of damage can I fix without joint compound?
This method works for small, clean holes up to about 50 mm across, shallow dents and popped nail heads. Typical examples are a doorknob punch, a missed picture hook hole or a screw hole left by a removed wall fitting. The repair relies on a self-adhesive mesh patch to bridge the opening, so the hole itself needs sound plasterboard around every edge for the patch to grip.
Do not use this approach on large cracks, holes bigger than your palm or water-damaged sheets. Crumbling edges, soft board and stains that keep growing all point to a bigger problem. You will need to cut out the damaged section and fit a new piece with joint tape and compound. If the hole goes right through and you can see insulation or wiring behind, stop and call a professional to check for hidden damage first.
What materials do I need for a no-compound repair?

You can buy everything you need in one trip to Bunnings or Mitre 10. A no-compound repair uses a self-adhesive fibreglass patch and a lightweight filler that spreads smoothly and sands back fast.
Gather these items before you start. With the right tools, the job takes under an hour, including drying time.
- Self-adhesive fibreglass mesh patch. Choose a patch at least 25 mm larger than the hole on all sides. The mesh reinforces the filler so it won't crack later.
- Pre-mixed lightweight filler. Look for a tub labelled "ready to use" or "no sanding needed". Lightweight filler shrinks less than heavy spackle and feathers out easily with a broadknife.
- 100 mm broadknife. A wide stainless steel blade spreads filler flat in one pass. It also doubles as a straightedge to check the patch is flush.
- 120-grit sanding sponge. A sponge block wraps around slight curves better than paper. Fine grit levels the dried filler without scratching the surrounding paint.
- Primer and matching paint. A small sample pot of wall paint is usually enough. A stain-blocking primer stops the patch from flashing through the topcoat.
How do I prepare the hole before patching?
Start by removing any loose or torn paper around the hole with a sharp utility knife. Cut away the damaged paper at a shallow angle until you reach firmly bonded material, leaving a clean margin that the self-adhesive mesh can grip onto.
Press back any gypsum core that sticks out above the surrounding surface. Use the flat handle of a scraper or a putty knife to gently push the crumbly core flush with the board surface. If a small lump remains, shave it down carefully with the knife blade so the patch sits flat and won't create a bump under the paint.
Wipe the entire repair area with a clean, slightly damp cloth to remove dust and grit. Let the surface dry completely before you peel the backing off the mesh patch. A clean, dry surface gives the adhesive the strongest hold and prevents the patch from lifting later.
How do I apply the self-adhesive mesh patch?

Peel the backing off the self-adhesive mesh patch and centre it directly over the cleaned hole. The patch should extend at least 25 mm beyond the edges of the damage on all sides. Press it down firmly with your fingers, working from the centre outward to push out any air bubbles and ensure full contact with the plasterboard surface.
The open weave of the mesh gives the filler a mechanical key to grip. Without the mesh, filler alone has nothing to hold it in a hole larger than a screw head. The patch bridges the gap and stops the filler from sagging or cracking as it dries. This removes the need for paper tape and a separate coat of joint compound.
Run your fingertip around the perimeter of the patch to check it is stuck flat. A lifted edge will show through the finished surface later. If the patch lifts, press it down again or replace it with a fresh one before moving on to the filler.
What is the best way to apply filler over the mesh?

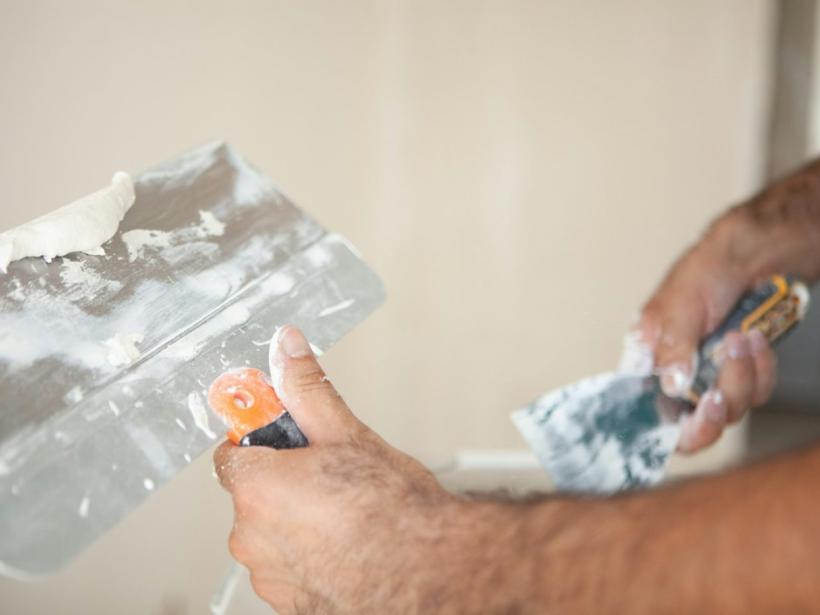
Use a 150 mm broadknife to spread a thin layer of lightweight filler across the mesh. Hold the knife at a shallow angle and draw it firmly over the patch in one direction, then back the other way. The mesh should be completely covered, but the filler layer stays barely thicker than the surrounding plasterboard surface.
Feather the edges while the filler is still wet. Run the broadknife around the perimeter with less pressure so the filler tapers to nothing on the undamaged wall. This avoids a raised hump and cuts down sanding later. Wipe excess off the knife frequently to keep the edge clean.
Let the first coat dry according to the filler instructions, usually 30 to 60 minutes. Inspect the patch. If the mesh texture shows through or the surface has shrunk below the wall level, apply a second thin coat. Spread it slightly wider than the first pass and feather again. Two light coats give a flatter result than one heavy one and need only a light hand sand with a fine grit block once dry.
How do I finish the repair so it blends with the wall?
Once the filler is fully dry, use a fine-grit sanding sponge to feather the edges. Work with a light, circular motion and stop as soon as the patch feels flush with the surrounding plasterboard. Wipe away all dust with a slightly damp cloth and let the surface dry completely.
Spot-prime the patched area with a small brush or a mini roller. A dedicated plasterboard sealer or a thinned coat of ceiling white stops the filler from flashing through the topcoat. In most Australian homes with good ventilation, the primer will be touch-dry within an hour.
Paint the whole wall section corner to corner, not just the patch. Cutting in and rolling the full face prevents a shiny spot or a visible halo where the new paint overlaps the old. Two thin coats of your wall colour, applied after the primer has cured, will give you an even finish that disappears into the room.
Frequently asked questions
Can I use this method on a ceiling?
Yes, the self-adhesive mesh patch works overhead for small holes. Use a lightweight filler that is labelled for ceiling use, and apply it in thinner layers to stop it sagging before it sets.
Will the patch be as strong as a traditional joint compound repair?
For small holes that do not take any load, a mesh patch and filler hold up well. If the hole is near a door handle or in a high-traffic hallway, a full compound patch with backing board is a tougher long-term fix.
How long does the filler take to dry before I can paint?
Lightweight fillers typically dry in 30 to 60 minutes for a thin coat. In humid coastal weather, give it a full two hours. Always check the product label and make sure the patch feels dry and hard before sanding or priming.
Do I still need to sand this type of repair?
A light sanding with a fine-grit sponge is enough to level the edges. Because you feather the filler thinly, you avoid the heavy dust and elbow grease that come with sanding back a full joint compound patch.
Photo: Sasun Bughdaryan, Unsplash (Unsplash License)